Sales Orders Receipts
The till-receipt template: exactly how the strip coming out of the receipt printer will look when the receipt is printed from a sales order.
Where to find it: Modules → Print Receipt → Registers → Sales Orders Receipts
The template is plain text woven with two kinds of substitutions, both in curly braces: printer commands, and field tags the system replaces with the document's data.
!!! note "This is about the till receipt, not the invoice blank" If you need to print the sales order itself on ordinary paper, that is done with the printer button in the document record and a print form — see Printing a document. This article only covers the receipt printer strip.
How to create a «Sales Orders Receipts» record
The menu item is «Sales Orders Receipts» in the «Print Receipt» module. From there it is the usual routine: the new record button, fill in the fields, save.
What to fill in on a new record:
- Receipt — the template code. It may be left empty and the system will put in the next number itself; but printing an invoice looks for the template with code 1, so give the first, working template a
1by hand; - Number of characters — the width of the tape in characters (32 for a standard 58 mm tape);
- Comment — the name of the template for people;
- the receipt text — the template itself: printer commands and field tags in curly braces that the system replaces with document data. Both kinds of substitution are explained below.
The easiest way is not to write the text from scratch but to copy a ready template from the demo database and adjust it to your own details and tape width.
A worked example
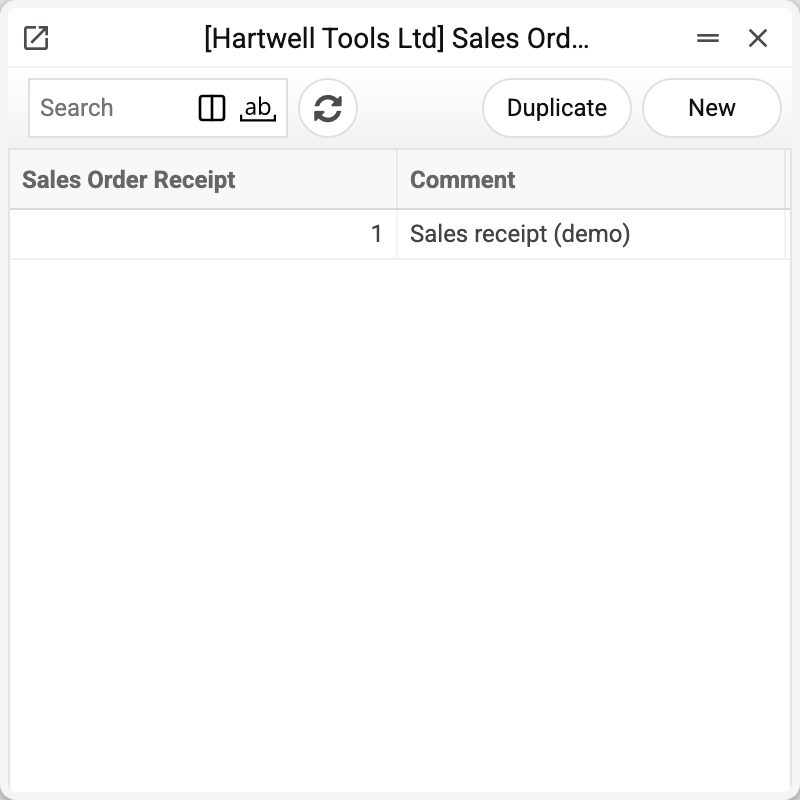
The journal shows the template code and comment. There is one template here, with code 1 — exactly the one printing from an order takes.
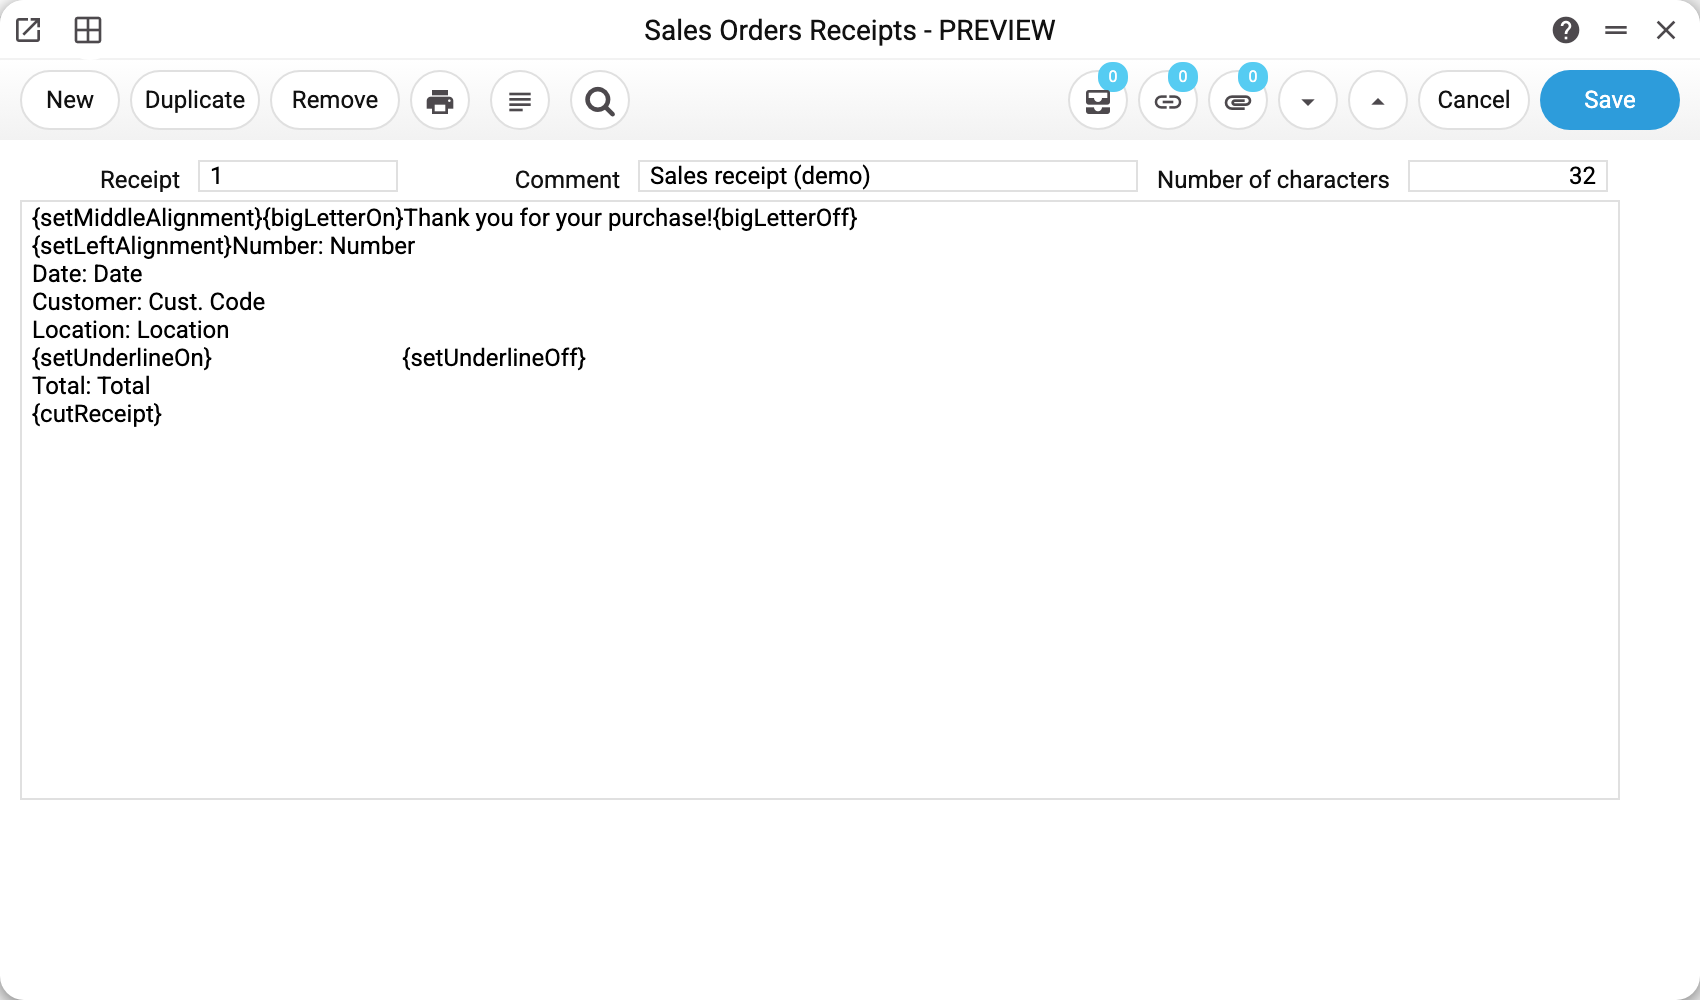
- Receipt — the template code. Printing from an order takes the template with code 1; other codes are kept in reserve.
- Number of characters — the strip width in characters (that is how the system knows where to wrap long names). For the standard 58 mm strip it is usually 32.
- Comment — the human-readable template name.
- The large field is the receipt text itself.
Printer commands
Written in curly braces and turned into the printer's control codes:
{setMiddleAlignment}, {setLeftAlignment}, {setRightAlignment} — alignment; {bigLetterOn} / {bigLetterOff}, {setTextSize}, {setFontA} / {setFontB} — size and font; {setBoldOn} / {setBoldOff}, {setUnderlineOn} / {setUnderlineOff} — bold and underline; {cutReceipt} — cut the strip (goes at the end).
Field words
Document substitutions are in curly braces too, and they are always written the same way, whatever the interface language (in Ukrainian): {Номер_замовлення} (order number), {Дата} (date), {Клієнт} (customer code), {Склад} (location), {Власник} (contact name), {ПІБ} (full name), {Тел.1}, {Тел.2}, {email}, {Адреса} (address), {ТТН} (waybill), {Всього} (total), and {Matrix} — the document rows (name, serial number, quantity, price, sum). The captions {(Тел.1:)}, {(Тел.2:)}, {(email:)}, {(Адреса:)} print in the interface language and disappear together with the value when the field is empty. {[text]} is free text wrapped to the strip width (only the first such block in the template).
A tag written any other way (for example {Number} instead of {Номер_замовлення}) is not recognised and prints as text.
{Власник} and {Адреса} print empty: nothing in the system fills these sales order fields, so the {(Адреса:)} label disappears together with {Адреса}.
Where the printed receipt goes
The finished text lands in the «Print Queue», where the printer picks it up. Printing a receipt from the order starts only when both fields of «Print Receipt Settings» are filled in; the values themselves are not put into the job. The POS till does not use this template: it builds its own receipt and prints it through the till computer's browser.
Common situations
Nothing prints at all. There is no template with code 1 — that is the one order printing looks for. Or the template with code 1 exists but has no text — then the window says «The text of record "1" in "Sales Orders Receipts" is empty: nothing was sent to print».
{setBoldOn} and other braces show up on the receipt. The command is misspelled — the system replaces only the exact names listed above and prints the rest as text.
A tag is printed instead of a value, for example {Customer}. The tag is not written as in the list above: tags are the same for every interface language and are not translated — write them exactly as listed.
Long names went out of line. Check «Number of characters» — it must match the real strip width.