Integration with external systems
Overview
This instruction describes the integration of a partner ERP with client versions of ERPJS. The parent ERP is a source of service orders for partners in the ERPJS system. When certain events occur in the main ERP, a new service order is created for the selected ERPJS account, and depending on the settings, a notification is sent.
1. Registration
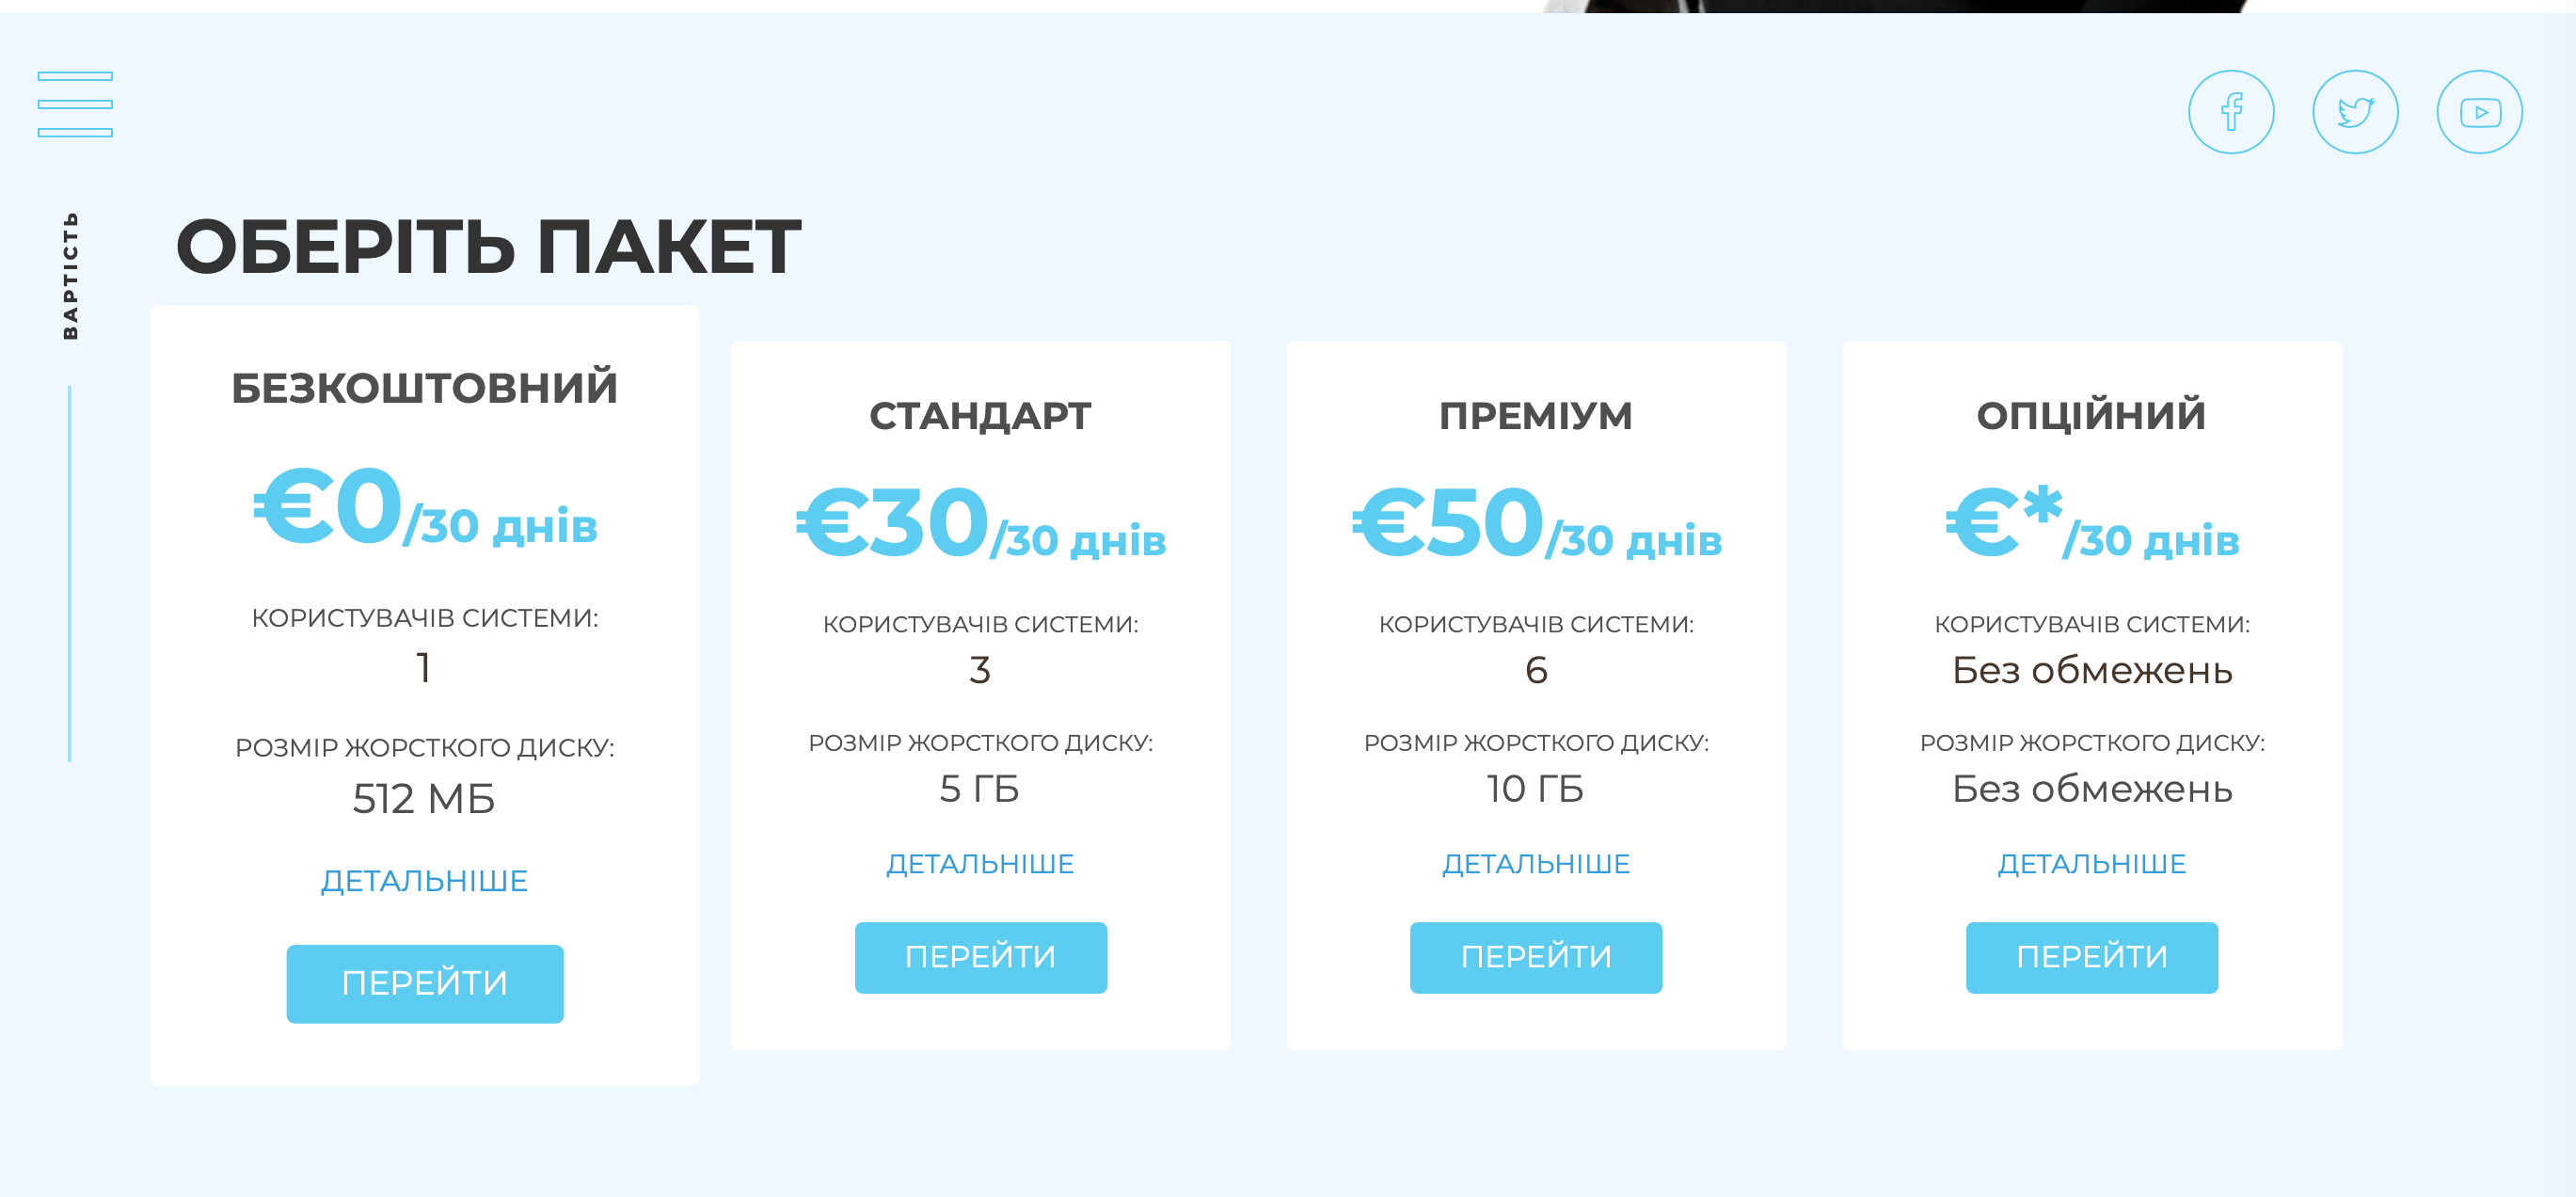
To register a free version of the application, go to erpjs.biz and navigate to the registration page from the package selection section.
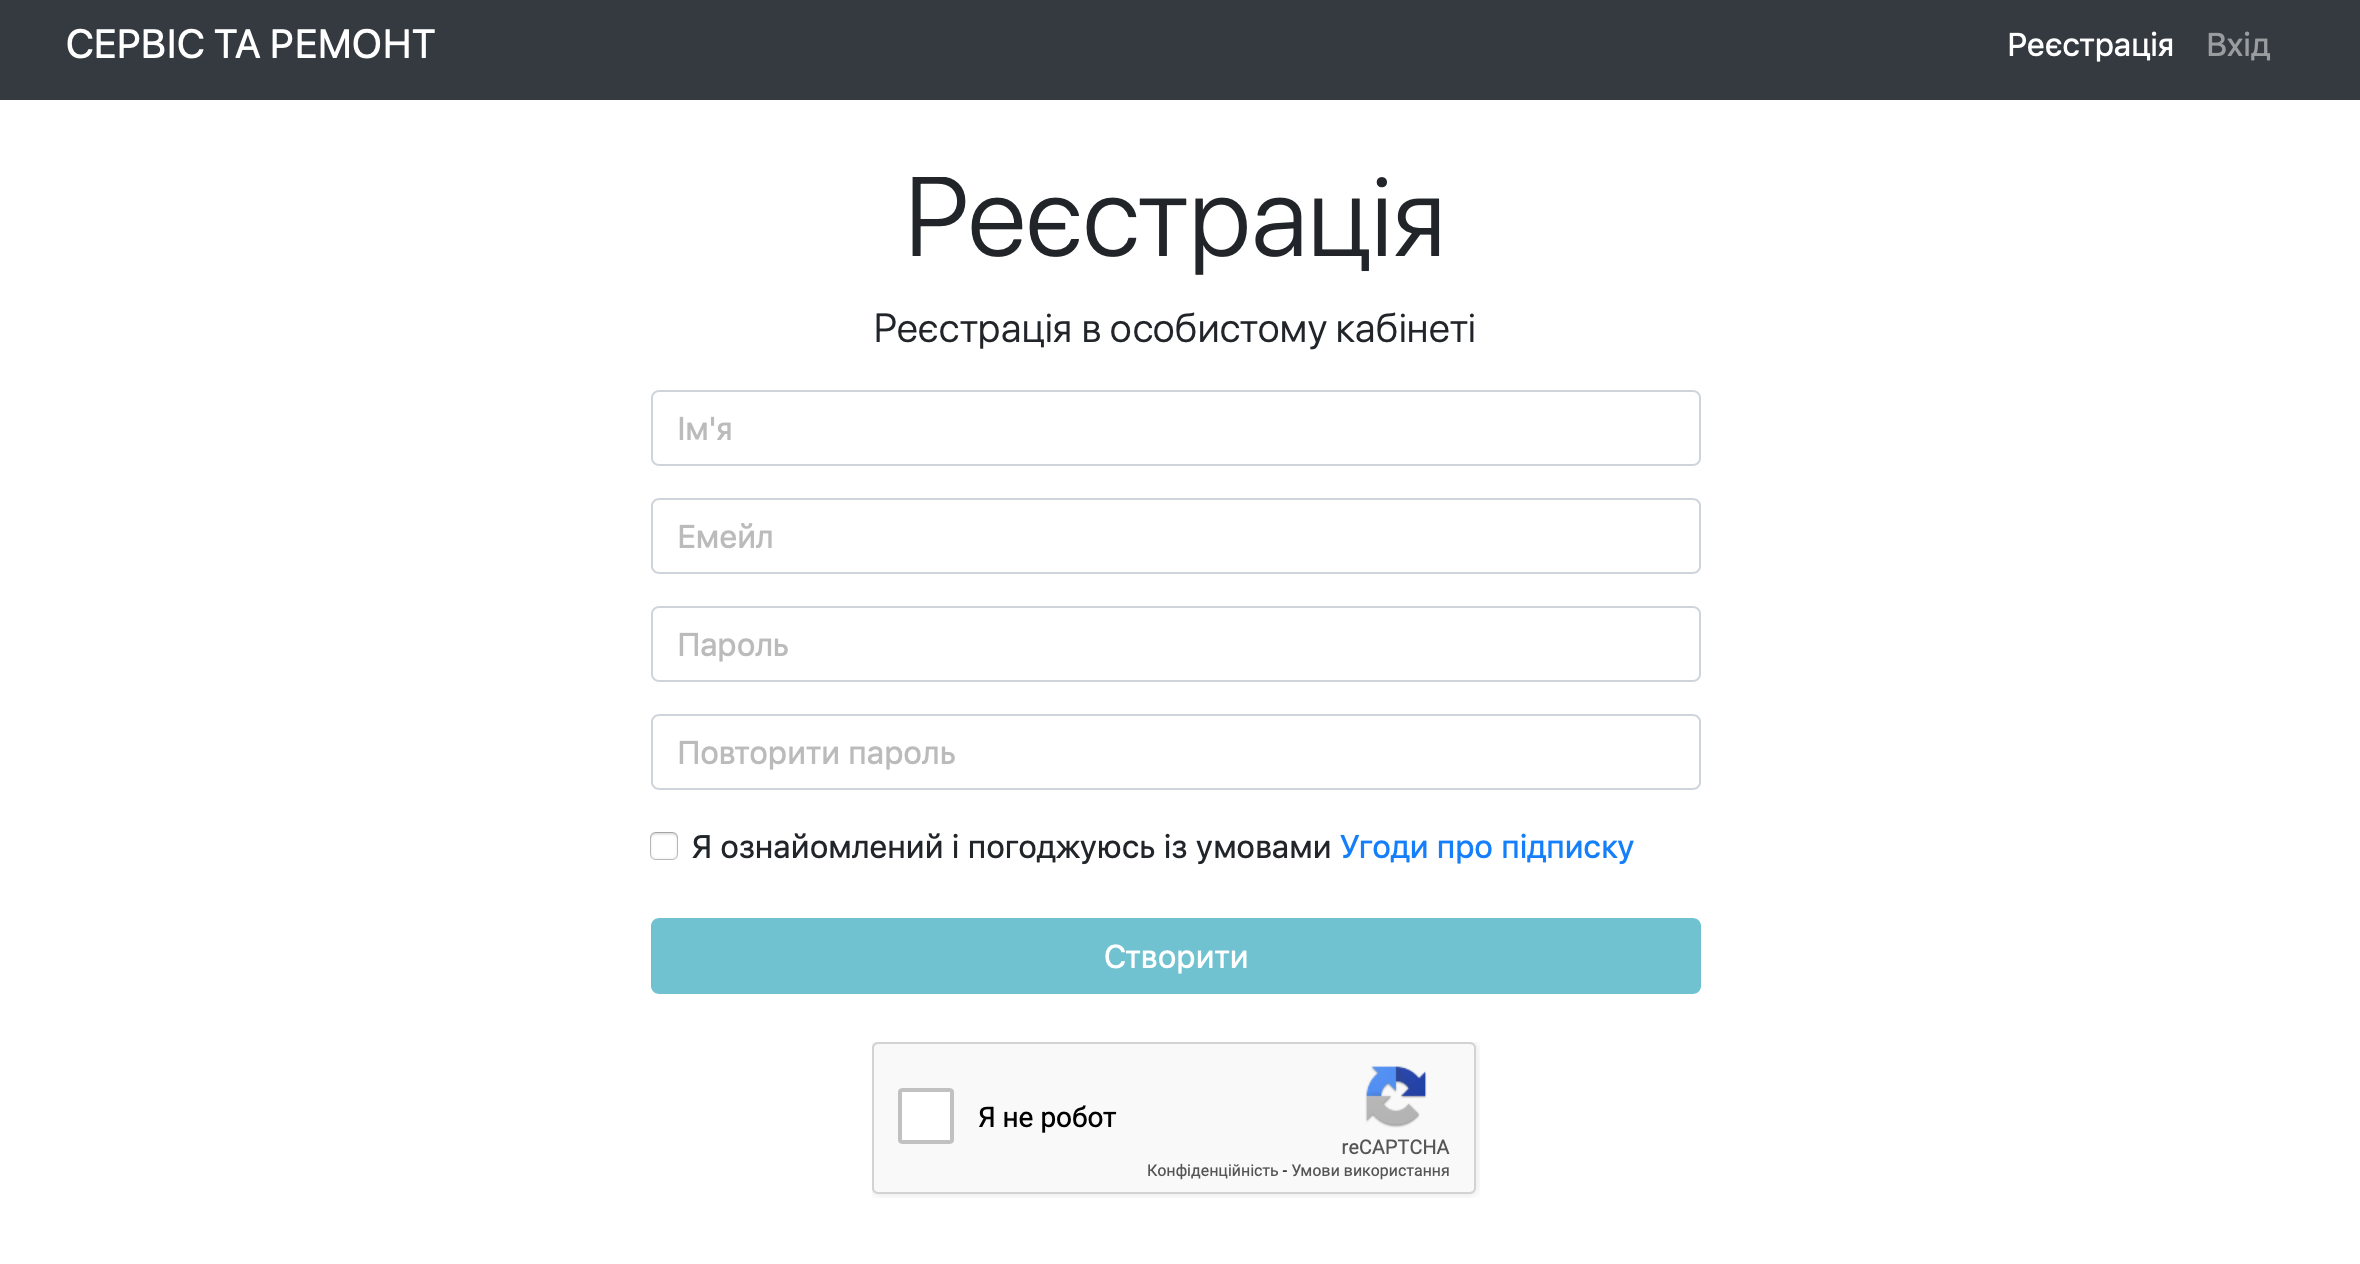
On the registration page, fill in the required information. Upon successful registration, you will receive an email with a link to confirm your account.
2. Creating a company
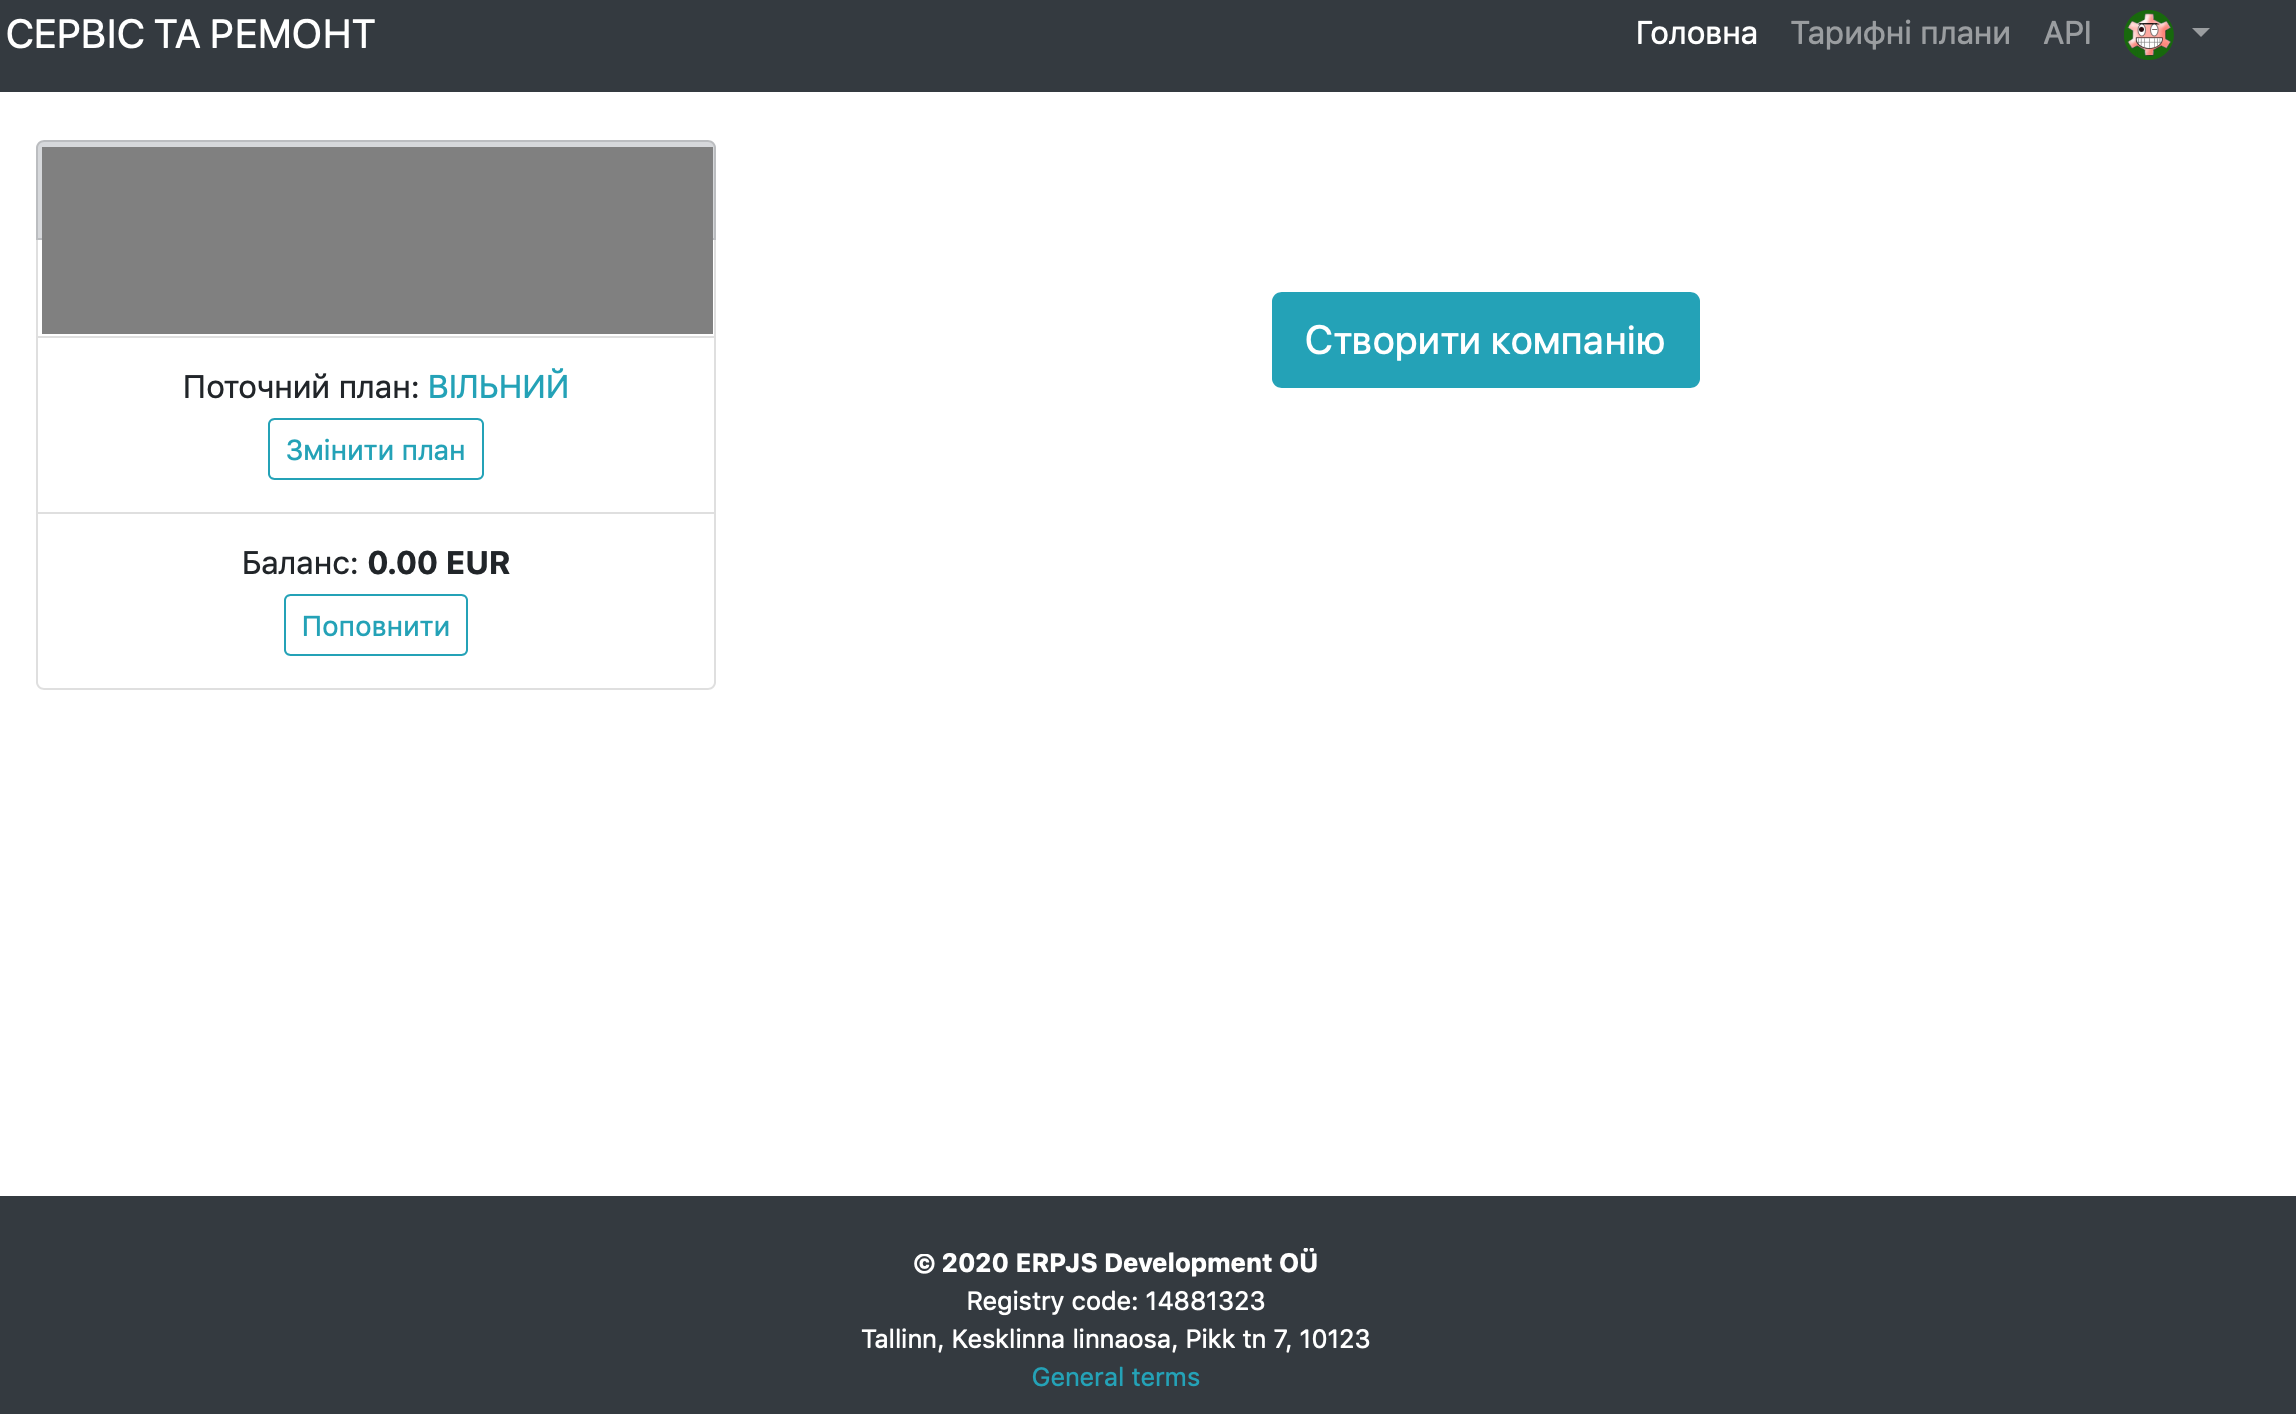
After logging into your personal account, you can create your company. Click the "Create company" button. Enter the company name and description.
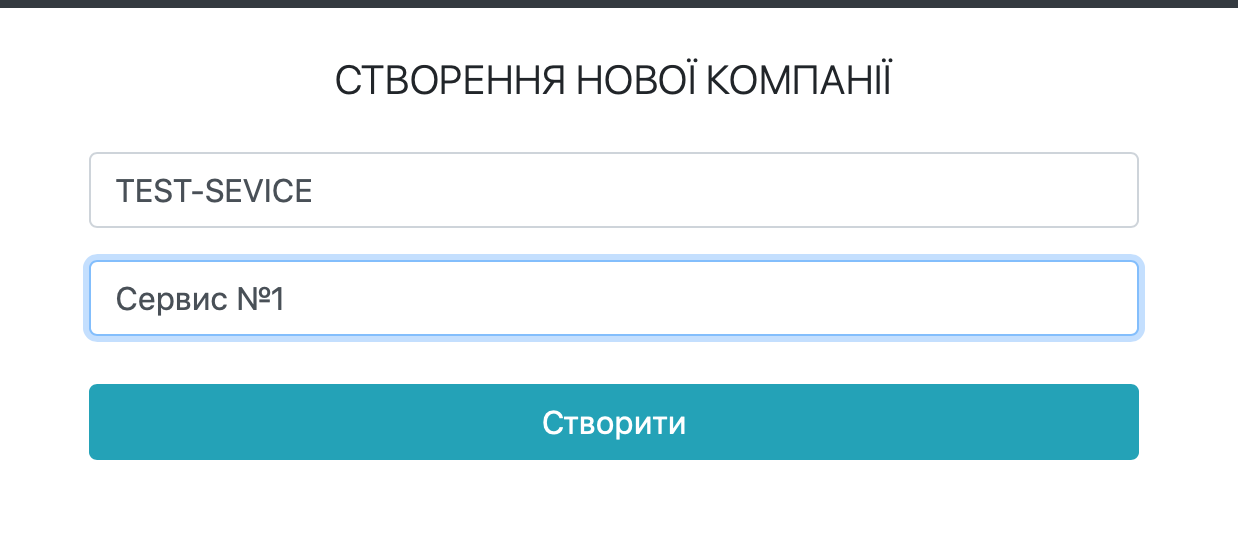
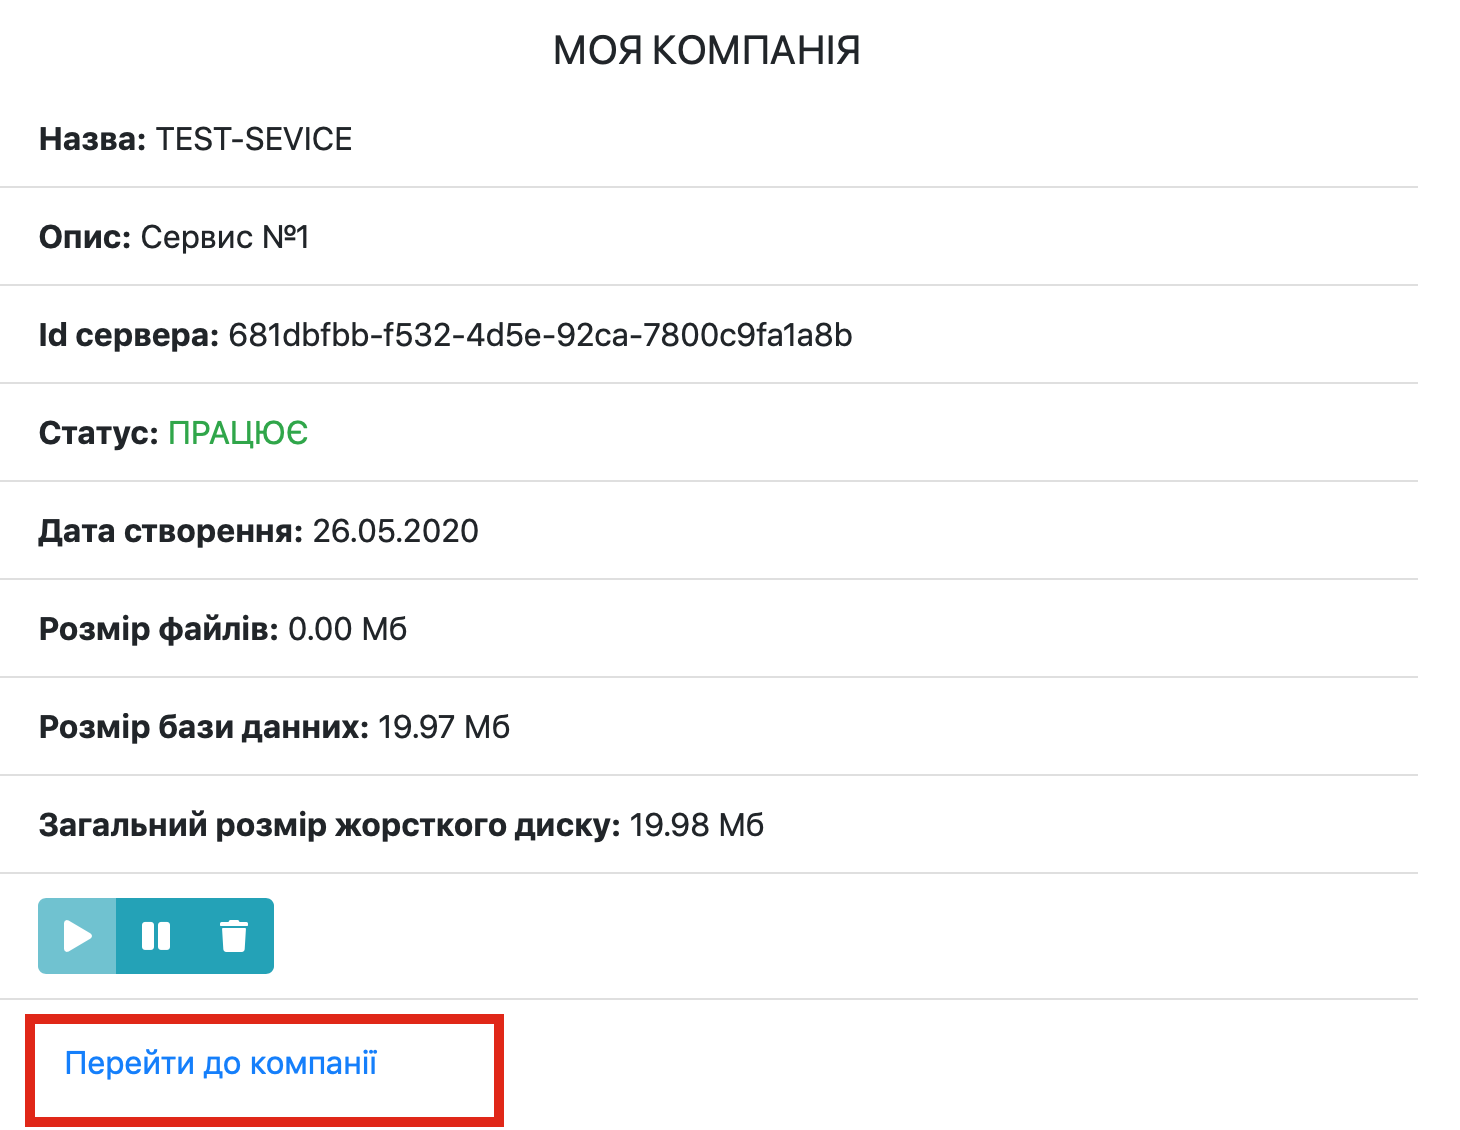
After registering the company, you will receive an email with a login and temporary password for first access to the system. To access your company, click the "Go to company" link in the application data window.
3. Transferring keys
To integrate ERPJS with external systems, you need to give partners two values:
- Server ID — part of your system's address:
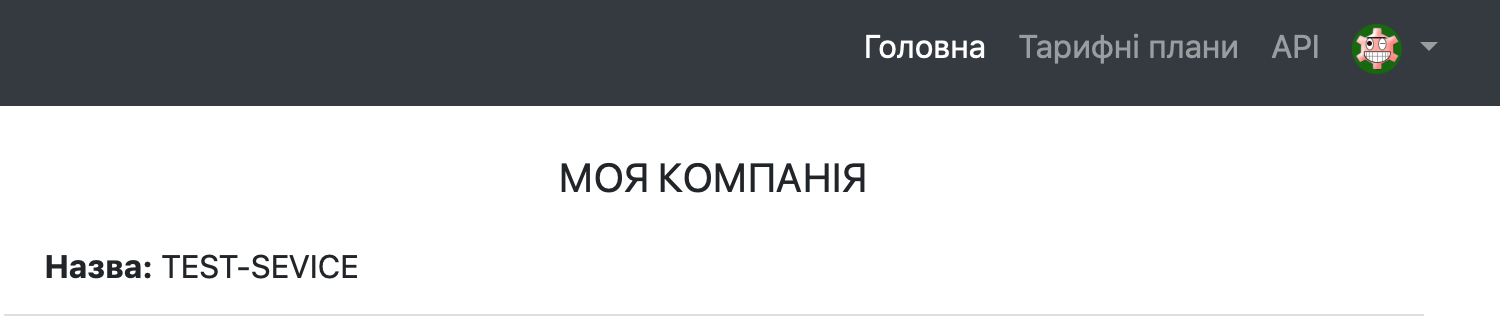
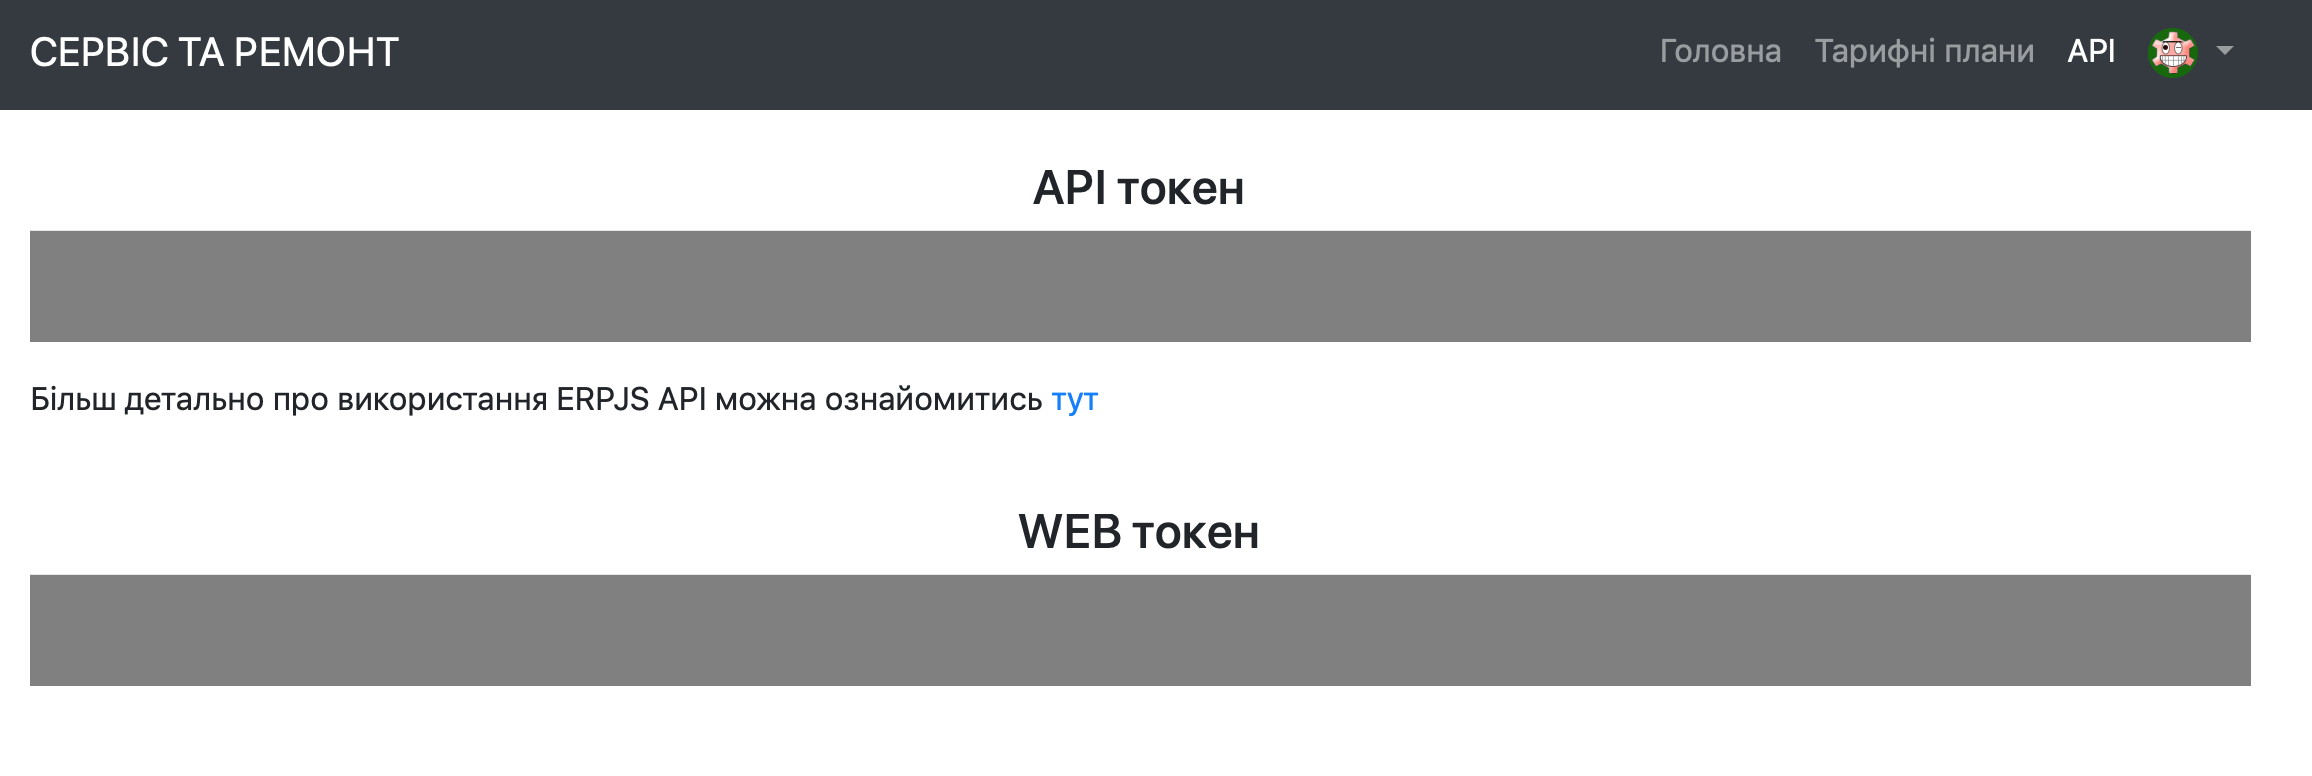
https://s.erpjs.biz/<Server ID>; you see it in the browser's address bar while working in ERPJS. The "Main Company" setting has no such field. - WEB token — shown in the erpjs.biz personal account: menu ERPJS → API, the WEB token block. The token is valid for 90 days; the account may issue a new one by itself 8 days before expiry — then the new token has to be passed to the partner again.
The partner system creates an order with POST https://s.erpjs.biz/<Server ID>/web/getJSONToCreate and the header Authorization: Bearer <WEB token>. ERPJS assigns the order number itself: a number sent in is replaced with the next one in sequence; a customer, device model and brand that do not exist yet are created by the system.
4. Viewing new service orders
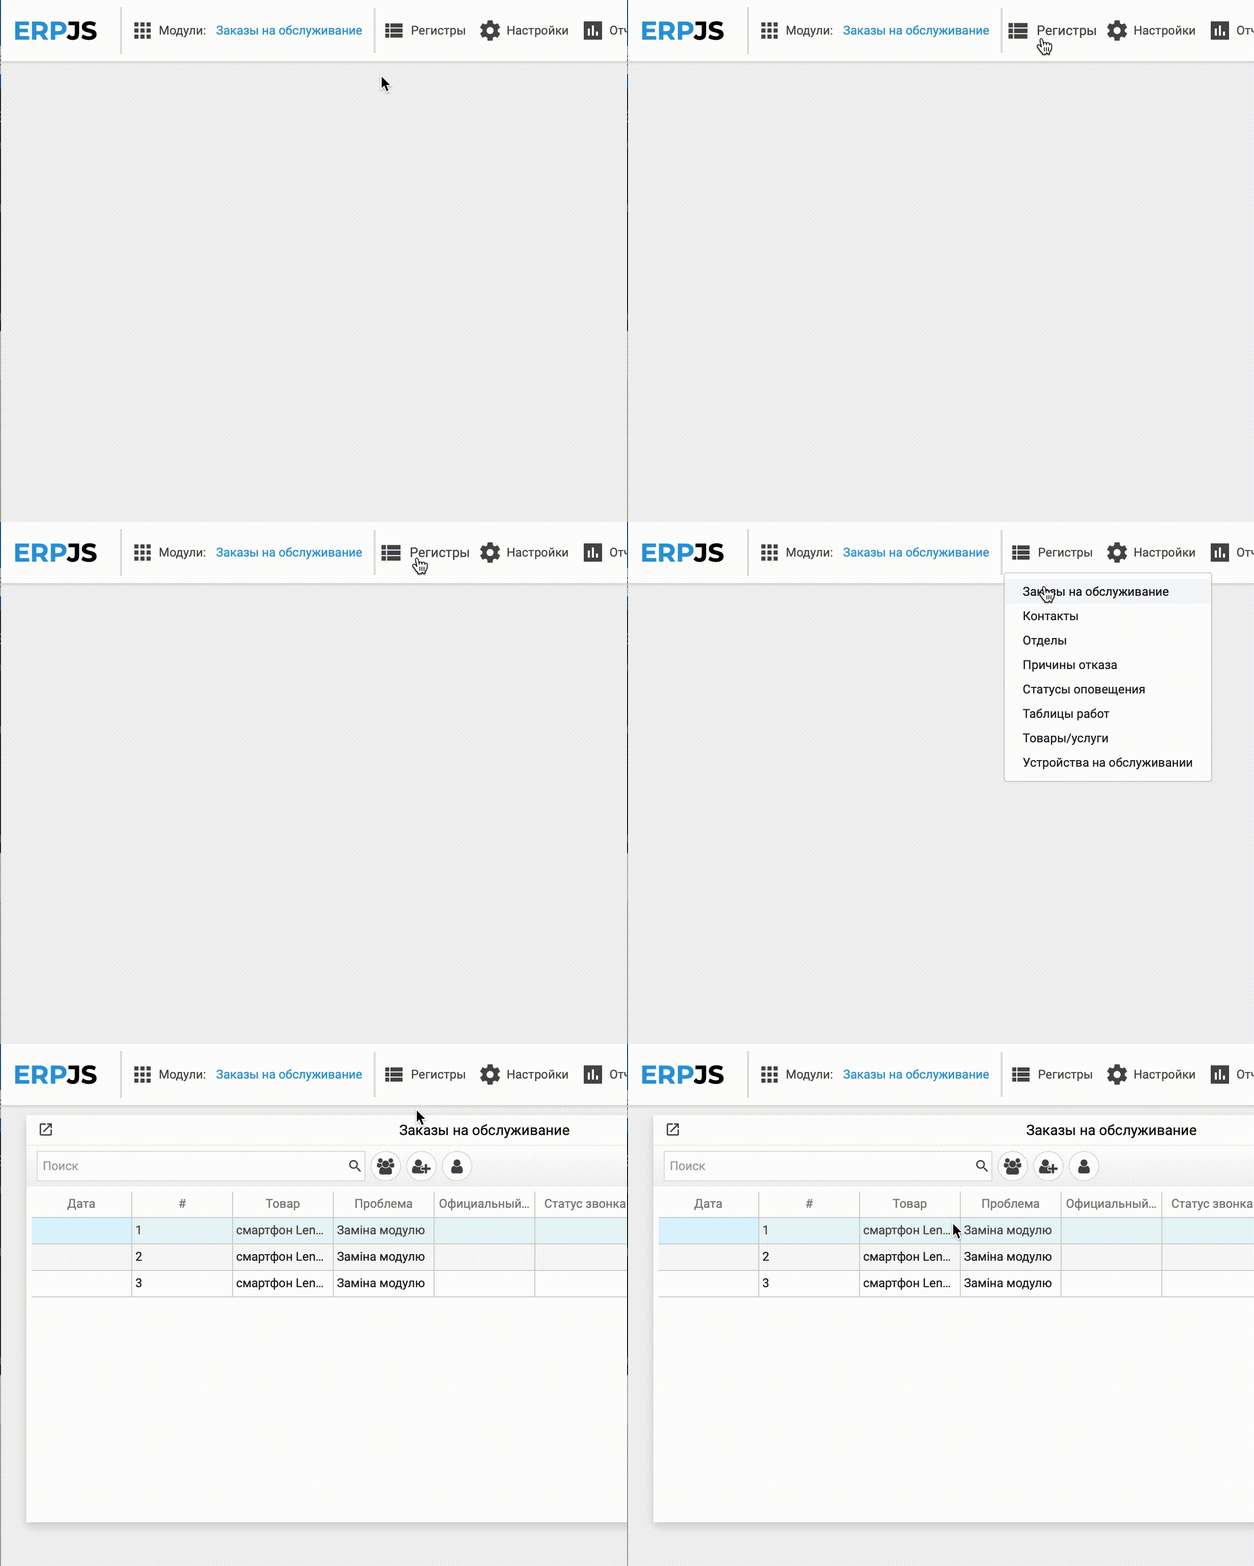
Navigate to the Service Orders module. Click the Registers button. Select Service Orders. New orders received from the partner will appear in this list. You can also process your own service orders. Access to this data is fully restricted to your account and new accounts created in this company. For additional information, refer to the documentation site
 or use the help buttons in the system windows
5. Notification settings
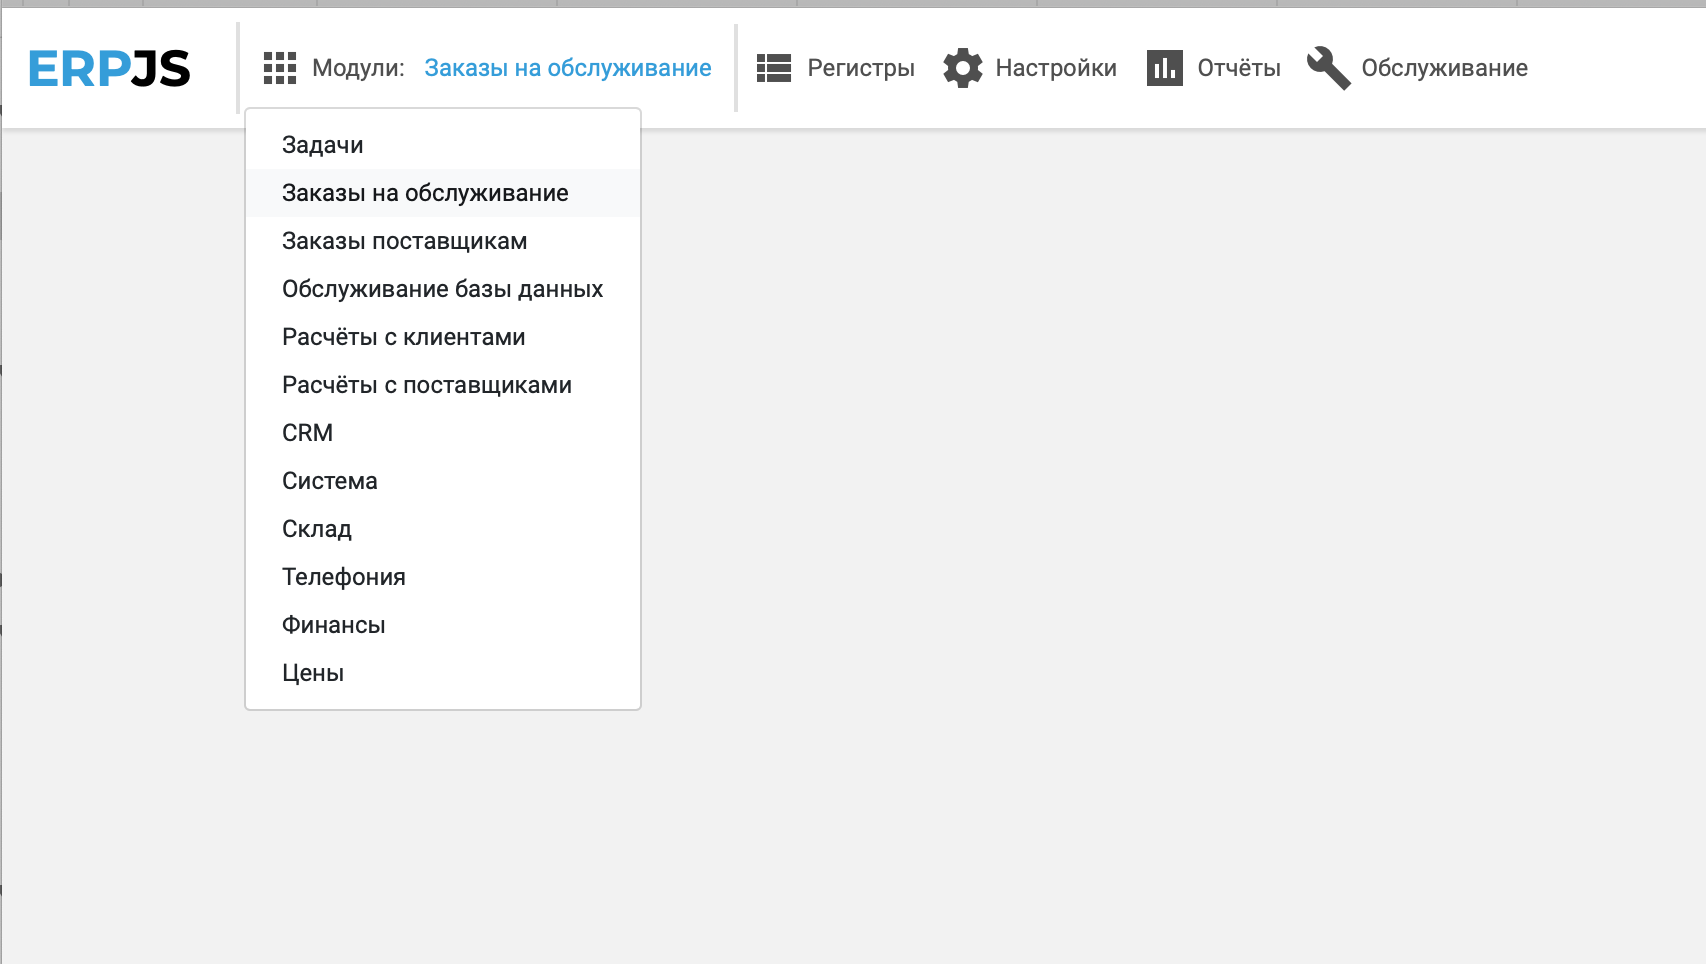
After registering a new company, log into the system. Click the Modules button — CRM
Then go to the settings menu and select Actions Setting.
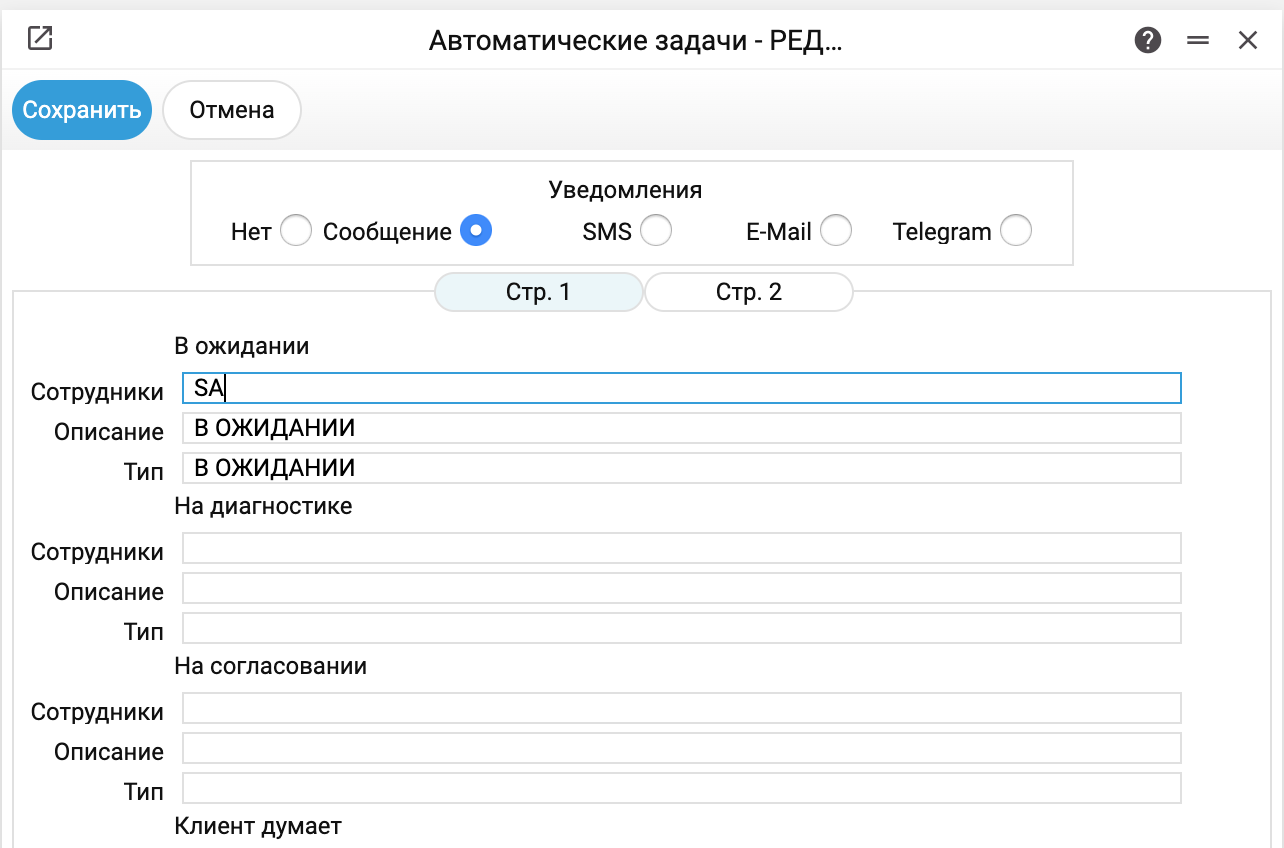
The setting consists of blocks — one for each service order status (tabs "Page 1" and "Page 2"). An order from a partner arrives in the "Pending" status, so to get a message about it, fill in the "Pending" block:
Employees — a list of employee logins who will have a new task created. Logins are separated by commas.
Description — the title of the created task.
Type — the type of the created task. Double-pressing Ctrl in the "Type" field opens a window with the available task types. Task types are used for logical separation of tasks.
A task is created only when both "Employees" and "Type" are filled in.
Choose the method in the Notifications block — one for the whole setting. Options:
- No — a task without a notification.
- Message — an internal pop-up message in the ERPJS system as a small window.
- SMS — a message via SMS operators to a phone. New-task notifications are sent by the scheduler: through Atompark if its settings are filled in, otherwise through TurboSMS; BSG and the operator choice in the "SMS Notification" setting do not apply to them. Service-order SMS and a manual SMS go another way — through three operators (TurboSMS, BSG, Atompark) and the "SMS Notification" choice ("Automatically" — the first whose settings are filled in, in the order TurboSMS → BSG → Atompark)
- E-Mail — an email notification about a new task. Additional email settings are required (below).
- Telegram — a message via Telegram bot
If the assignee has no contact for the chosen method, the system takes the first available one in the order Telegram → Message → E-Mail → SMS. An assignee without the right to view tasks gets no notification.
Setting up user accounts for receiving notifications
- Navigate to the System module
- Open the Users register
- Enter Phone 1 in international format for receiving SMS messages (if it is empty, the SMS goes to "Phone 2")
- Enter E-Mail for receiving email notifications
SMS account settings
Navigate to the Telephony module → Settings → "Turbo SMS Settings". Enter the "Login" and "Password" for sending SMS configured on the operator's portal, and the registered "Signature". Fill in the service address too (without it sending will not switch on), for example:
- "Host" — turbosms.in.ua
- "Page" — /api/soap.html
Save the setting. When clicking the "Update Balance" button, if everything is configured correctly, the system will retrieve your balance amount.
Email client settings
Navigate to System module — Settings — "Email Setting". Fill in the settings according to your email account.
For example, for Gmail:
- "Host": smtp.gmail.com
- "Port": 465
- "Secure" — check the box
When using a Gmail account:
- signing in with the account's own password will not work: Google no longer admits "less secure apps". Turn on 2-Step Verification in the account and create an app password for ERPJS — that is what goes into the "Password" field;
- set "Default from" to the same address as "User": Gmail does not let you send from someone else's address (ERPJS itself does not check this).
We have made every effort to keep your data secure, but if possible, do not use your personal account for sending messages — use separately created accounts for these purposes.
Telegram bot
Creating a Telegram bot
A bot in Telegram is created using another bot called BotFather. Send it the /newbot command, choose a display name and address. For example, "Bot for Good" with the address "bot_for_good". If the address is not taken and the name is entered correctly, BotFather will reply with a message containing a token — the "key" for accessing the created bot. It must be saved and not shared with anyone.
Setting up the Telegram bot
After creating the bot, the received token must be entered into the system: System module → Settings → "Telegram Settings". After saving, the server restarts the bot by itself; the window will offer to reload the page.
Working with the bot
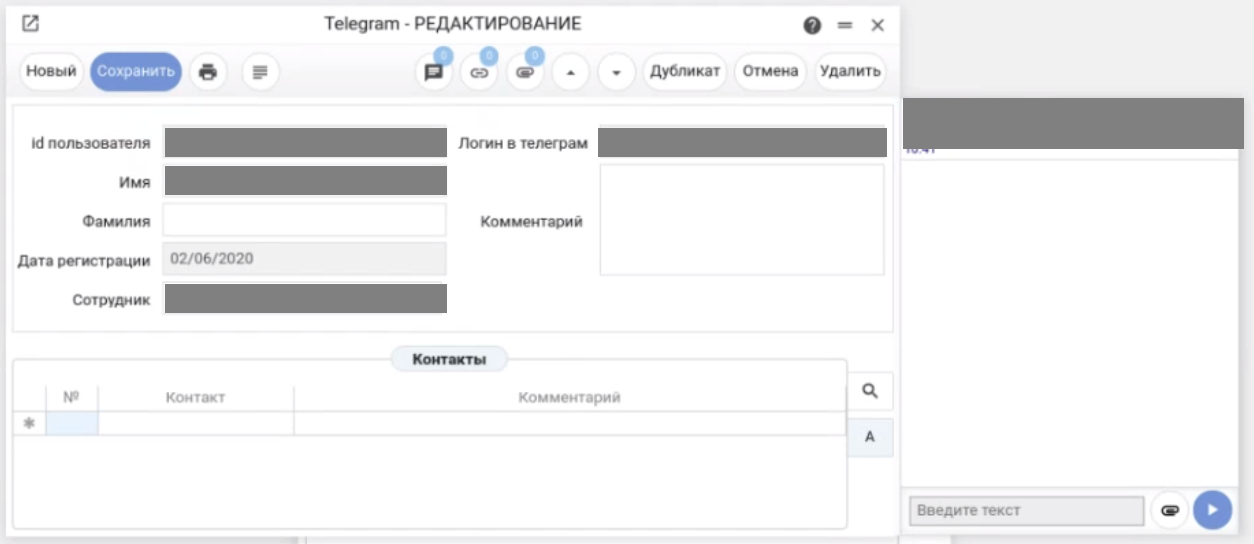
To start, simply send the bot any word, for example "hello". After that, a record will be created in the system in the Telegram register of the System module with the first and last name (if the Telegram user has filled them in; otherwise, only the first name and username will appear). To "link" the Telegram user to a system user, enter the user's ERPJS login in the "Employee" field (this is needed for receiving notifications in Telegram: the notification looks the record up by login).